Let’s face it, a large, irrigated landscape can suck the life out of a person. I know this personally. When drought and hundred-degree temperatures arrive, it’s tough to keep up. It’s all about math. An acre is just a hair less than the size of a football field, inside the goal lines. An acre has 43,560 square-feet. When an inch of rain falls on an acre, that’s 27,154 gallons. If you need to water a single acre a mere inch and you’re wandering around with a hose capable of a robust six gallons per minute, well, that’s still more than 72 hours of work. That’s for an inch of rain equivalent. When humidity is low, while evaporation and transpiration are high, you may need to provide two to three inches per week just to stay even with water demand.
I’m generally a rule breaker, but when it comes to planting, it’s best to pay attention to details. Some might call it caring. I call it biophilia, which is a human condition about caring for other living things. What you do at planting and how you treat the plant for the first few establishment years are critical. It often means the difference between a tree that lives a few months and then dies or one that lives for the next thousand years. It’s the establishment phase that sets the path ahead. Water is a big part of that. Here are some rules to live by.
Plant in the fall. For the most part, planting woody trees and shrubs in late autumn makes sense. Temperatures are lower, rains have returned, and the plant is edging into winter dormancy. Soil leaks into the root-ball mass and plants have time to become acclimated to the soil texture and density. Roots do grow in the winter. The goal is to make as much root growth before the first stressful summer. Keep in mind that with fall planting of deciduous trees and shrubs, considerable root growth can occur even though the leaves have dropped. It’s important to maintain proper moisture to support this root activity. The faster roots extend from the container growth-medium into the surrounding soil, the better off the plant will be when that first summer arrives. Planting in the fall normally means a more durable plant that first stressful year. Deviate from this rule if you’re working with the marginally hardy. Plant those in the late spring.
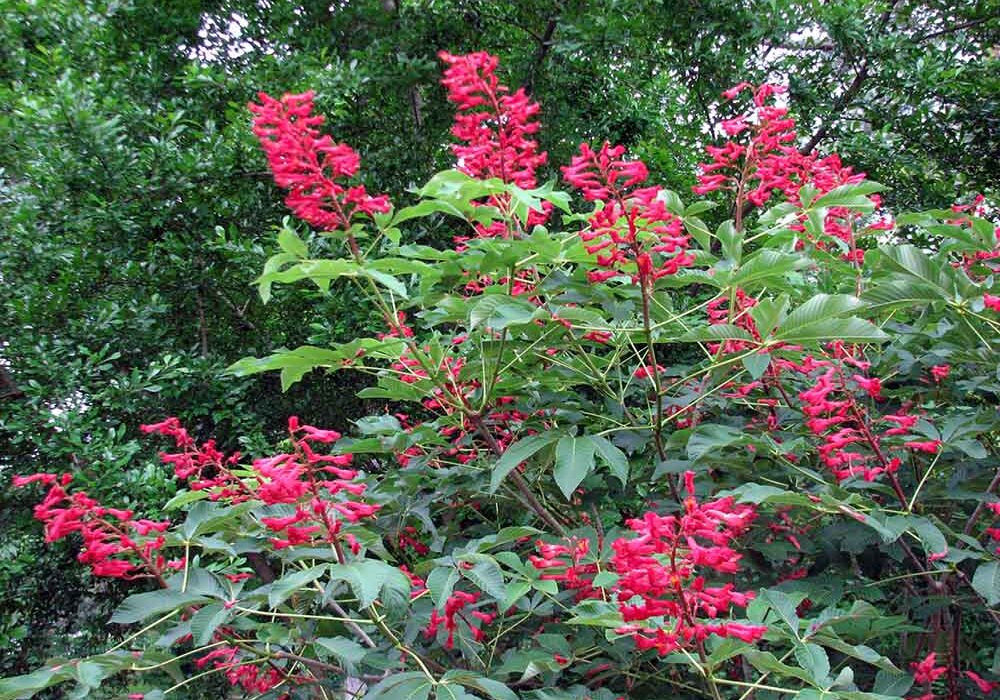
Group plants based on water use and sunlight needs. Avoid putting a high-water-use plant with any species that gets along with less. Become a believer in low-water-use plants. It is hard to beat the “desert lilies” for gardeners who just don’t want to water at all. Hesperaloes, yuccas, dasylirions, agaves, nolinas and others are perfect to make it on their own. Add in our western desert shrubs and trees, and you can have a xeriscape that doesn’t add much to the water bill. Choose plants that shut down during the summer to avoid water stress. For instance, buckeyes (both Aesculus pavia and A. glabra var. arguta) tend to shed their leaves in mid- to late summer and simply go dormant for the rest of the year. For our western candidates, it’s all about drainage and, in some cases, adding limestone. Try to plant low-water use plants as a rule and then restrict the exceptions to their own area. Nothing is more frustrating than to have pockets of new plants intermixed into a well-established landscape. To keep the new plants watered, it’s often necessary to overwater the established landscape, wasting water and money.
Plant correctly. A planting hole that is several times wider than the width of the root ball is a good idea. Loosening the soil around the container plant means less energy is expended pushing roots into a loosened soil. Dig a planting hole only to the depth you want to place the bottom of the container. Digging too deep can mean the plant sinks a few inches. Achieve good soil and root contact at planting, particularly with larger container-grown plants.
All the way back in the 1980s, Will Fleming, a famous Texas plantsman, was demonstrating to a troop of my students how to plant large-container plants in the Shelby County courthouse landscape in Center, Texas. The Horticulture Club had presented a proposal to the Shelby County Historical Society, which was accepted, and off we went to make a difference. We had some terrific 15- and 30-gallon trees and plenty of shrubs to plant. Will dug a wide hole, much wider than the container width and no deeper than the container. He made four slice-cuts along the root ball, top to bottom, to cut any “wrapper” roots, then backfilled with parent soil and then demonstrated his technique of “muddying” the plant in. What that meant was a hose running and he got down on his hands and knees and kneaded that soil into a very wet soup. He then forced that into the root ball as best he could, literally pushing mud where he wanted it to go. He explained that the large root ball was mainly organics (bark or peat back then) and it would soon disappear, would be full of air and cavities. The goal, he told the students, is to get good root/soil contact. The demonstration made an impression.
Elevate your plant. Always plant so that the root ball is level with or slightly above the plane of the ground. Dr. Mike Arnold, Texas AgriLife, has a plethora of practical research proving the point that planting too deep is a poor practice. It’s always best to plant where the root collar is about level with the grade of the land, or slightly above. The reason is simple. Container plants are typically quite well aerated. When planted in many soils, the roots near the base of the container my suffer from oxygen deficit, succumbing to anoxia. During planting exercises, I used to walk around the effort and remind students to “plant high.” I learned later that they thought that was funny. I remember an incident with pecans, when a large field was planted using a tractor and auger to prepare the planting hole. While the trees were planted solidly above grade, after a few rains they sank about six inches. Most had to be lifted to the proper elevation. Not good.
For the most part, skip placing a lot of amendments in the planting hole. Many gardeners invest heavily in peat moss and other amendments. I lean toward the Carl Whitcomb philosophy of landscaping. Get the plant growing as quickly as possible in the parent soil that will be the home for its life. Any organic amendments you add will decompose quite quickly in a Texas summer. Stirring in a few buckets of peatmoss, pine bark or compost may make you feel good, but it also creates a new transition zone for roots to become adapted to. As that transition zone decomposes back to the natural parent soil, roots will need to adapt to that as well. Adding another transition zone, such as peat moss or bark, is just another hurdle the plant must deal with. There are, of course, exceptions. Amending the entire potential root zone of a shrub planting is not a bad idea for many ornamental shrubs. Azalea growth and survival often benefits by being in a pine-bark or peat-moss amended bed.
Water amply during the establishment year. Plants new to the landscape need extra attention. Because of the root-ball media/soil interface, water wants to leave the root ball and enter the soil. Clay holds water better than sandy soils. Overwater a tight soil and the new plant can drown. Water is pulled away from the container-growth medium and into the surrounding soil very rapidly due to the greater capillary attraction of the small pores in the soil compared to the large pores in the container-growth medium. At planting, a thorough soaking/watering by hand assures the best possible contact between the soilless mix and the surrounding soil.
Let certain plants tell you when to water. I use Hydrangea macrophylla as a warning system for when to water. When it’s summer and the lacecaps and mopheads are at full speed but they wilt in the afternoon, that doesn’t mean anything. They like to wilt. However, when it’s morning and they’re wilted, they’re warning you that the place is dry.
Fertilize at planting. I always recommend a little slow-release fertilizer stirred in well away from the crown of the plant. You are offering new roots the opportunity to grow into fertile soil. On the other hand, never apply granular fertilize over the top of a root ball; that’s an easy way to kill roots. Subsequent fertilizer application will depend on the nature of the soil. Plants in very sandy soils often need more frequent boosting. A heavier soil has less of that problem. I lean toward frequent light applications. I liken that to wanting to eat every day or once a year.
Maintain a no-weed policy. Be steadfast in keeping a weed-free zone around the plant for the first few years and make it wider than the hole you’ve created. You want zero competition from weeds or other vegetation.
Be sure to mulch. A deep inch-or-two circle of pine bark or other material is a great idea and, of course, keep it shallow near the trunk and original root ball.
Conclusions. To save money and water, group plants correctly. Dig a wide planting hole no deeper than the container depth. Use slice cuts on a root ball if there are signs of root wrapping. Set plants so they are at or just slightly above grade. Unless you amend the entire root zone, skip too many amendments in the planting hole. Avoid fertilizers near the crown of the root ball. Water the plant in heavily and pay close attention to moisture in the first few months and years. Have a zero-weed policy in a wide circle around the plant and mulch as needed, thinnest near the crown of the plant. Water management is the number-one culprit for failed plantings — either too much, too little or too late. It’s easy to procrastinate, thinking newly planted plants can wait another day or two or 10 before getting additional water. Paying attention to details in the establishment phase will reap dividends for the life of the planting. Until next time, let’s keep planting.
Dr. David Creech
Director, SFA Gardens, Stephen F. Austin State University, Nacogdoches, Texas